Get Started
Install the app
Access the app at Google Marketplace and click “Domain Install” or “Individual Install” to install the app.
Go to sheets Extensions menu and click Sheet Automation, then click Open. The sidebar will show up shortly.
Note
Reload your sheets if you cannot find sheet atuomation menu or the app does not show up.The app will request below permissions when it is started the first time.
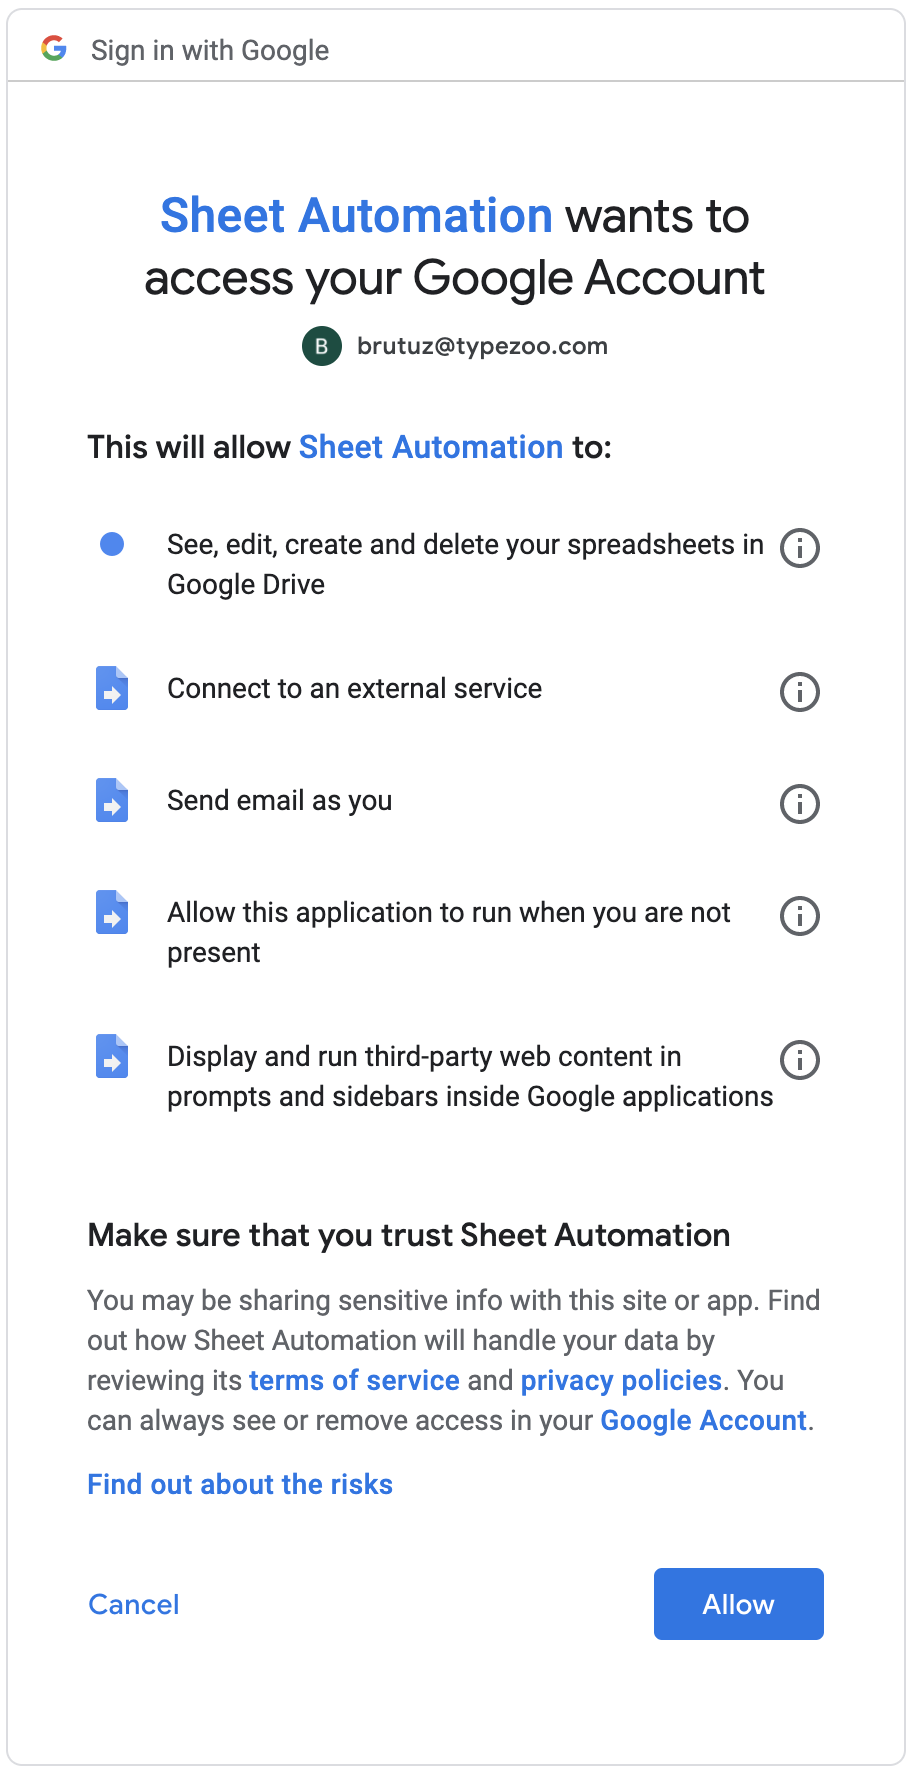
You may refer to Permission for a detailed explanation on why these permissions are required.
Once the permissions are allowed, you will receive a security alert email from Google. This is normal as Google warns on the permissions granted to any third-party apps.
Create your first rule
Click “+Rule” button to open the rule editor. You should see a blank rule.

Step 1 - Create trigger
Click the grey area under Trigger and select Column Updated trigger.

Enter the required details and save the trigger.

Step 2 - Create condition
Click “Add a condition” and select Column Condition.

Configure the condition “E is equal to Done” as shown below.

Step 3 - Create action
Click “Add an action” button and select Send Email action.

Configure the required fields and save the action.

Step 4 - Save and test
Save the rule and we have created our first rule successfully!

Once the rule is saved, it is active.
To test the automation, try to edit the value of any cell in column E of Sheet Task to “Done”.
The automation will be triggered multiple times if you edit multiple cells or one cell multiple times.
If the automation works correctly, you should receive an email with subject “Data updated” in your specified mailbox in a couple of seconds.
Note
You don’t have to keep sidebar open. The automation will be working when app is closed.Last modified November 18, 2025